
A Week of Creativity: New Tools and Exciting Projects in Glass Art
A Milestone Celebration with a Creative Twist
It's been an exceptionally busy week filled with various appointments and family commitments. Last week marked a special milestone—my first wedding anniversary. My wonderful husband surprised me with a Cricut machine as an anniversary gift, aligning perfectly with the traditional first anniversary paper gift. I am absolutely thrilled! Until now, I've been crafting patterns for my glass art using tracing paper, pencil, and a lot of patience. With the Cricut, I can now utilise my laptop to cut patterns onto sticky vinyl. While I’m still getting to grips with designing patterns on my computer, I’ve been diving into numerous YouTube tutorials—some more helpful than others. Stay tuned for a future blog post dedicated to my first Cricut project!
From Experimentation to Creation: A New Glass Art Project
Today, I finally had the chance to use the pieces from my last blog post, where I experimented with glass clay (you can find it here: Experimenting with Glass Clay). I was delighted with the results, although the pieces shrunk more than anticipated. They reminded me of a rock pool, inspiring the next stage of my project.


I began by tracing around my mould to establish the working size. Initially, I filled the mould with strips of glass but found the arrangement too random. After rearranging them, I was much happier with the layout. I then added powder and frit in the same colours used to create the glass clay shapes. Reflecting on it, I might not have applied them deeply enough, so the colours could end up a bit faint—but we’ll see! To add movement and interest, I incorporated black, green, and yellow stringers.


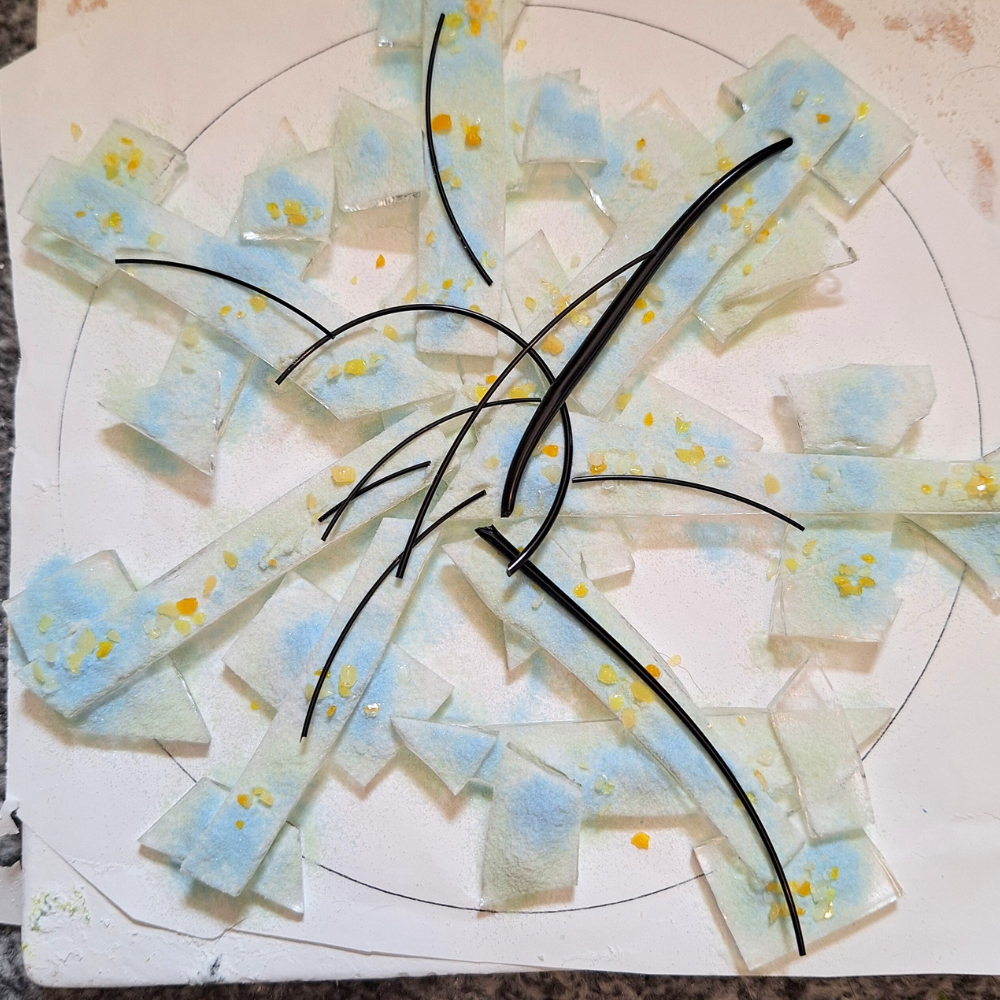
The highlight of the piece was undoubtedly the glass clay shapes. I finished off with a sprinkling of green frit and placed it into the kiln. I’m aiming for a texture-rich result, so I won’t be full fusing it; instead, I'll take it to 740°C. If everything turns out well, my plan for tomorrow is to move on to phase three and slump the piece into my bowl mould.


A Rewarding and Relaxing Creative Process
This project has been incredibly enjoyable and relaxing. It felt very organic, with no rigid patterns or shapes to cut out. I can’t wait to see the final result and share it with you all!
Stay tuned for more updates on my glass art adventures, and thank you for being part of this creative journey with me.
By embracing new tools and techniques, I’m continuously evolving in my glass art practice. Have you tried any new tools or methods recently? Share your experiences in the comments below!